
Yay, Success!!!!
All my siblings pitched in, in various ways, and we really had a great time!!
My sister totally rocked her organization skills! Thanks, Alice!
Relatives and friends from the past flew in from out of town and all twelve grandchildren made it there too!
We had a dear friend cater the lunch. Thanks, Michael!!

We hired a professional photographer to take family photos. Thanks, Caity!

There was music, an entertainment section, memorabilia, a computer slide show and, yes, there was a cake!
The Cake
There is a tiny bakery in Baltimore that has been around for over 90 years; Fenwick Bakery! And, Oh, Boy, do they know how to make a delicious cake! My mother picked out this delicious lemon pound cake.
Yum!
They baked and iced it! And then my mom wanted me to decorate it for her.
Wow, what a privilege!
She knew she wanted some sort of flowers on top! I tossed ideas around in my head. I wanted something dainty, feminine and understated but altogether unique. I ended up deciding to make a dark, chocolate, bird nest! I went to my favorite cake supply store, The Cake & Wedding Cottage, and picked up chocolate wafers and browsed their sugar paste flowers!
I was juggling quite a busy schedule, and time was precious so I opted out of making flowers and swooped up their most adorable cherry blossoms to add around the nest.
Making the Chocolate Nest
I have experimented with melted chocolate before and made the following:
a crocodile, blades of grass, a white, chocolate bunny, carrots, leaves and a pirate treasure chest, but, I have never made a chocolate nest.
I was up for the challenge.
I melted the chocolate wafers on the stove top with an improvised double broiler.
I then poured in into a small plastic bottle which had a pointed tip on the cap. I bought this bottle a while ago, which is specifically made for melted chocolate; great tool!
I decided to make several nests ahead of time.
I picked a small bowl, turned it upside down, sprayed it with cooking oil spray and squeezed some of the melted chocolate around the bowl. I put it on a pan and let it set in the refrigerator. When it completely cooled (a couple minutes later) I took it out and squeezed more chocolate around the bowl. I repeated this process until I had the thickness and look I wanted.
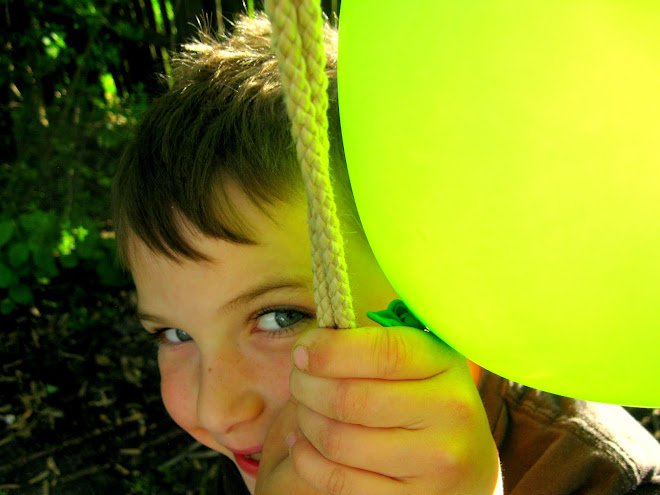
I then did the same thing with a balloon.

My Results
Ceramic bowl: It was difficult to pry off in one piece. It actually broke apart.
It still tasted heavenly!
Plastic bowl: It was difficult to pry off. Only one piece broke off which I was able to put back on with the melted chocolate acting like an adhesive.
Balloon: The winner!! It was so easy. I literally just cut a tiny sliver into the balloon so it would slowly deflate. The balloon shrank and I just lifted in out of the nest!
I will definitely use this method the next time I ever have the need to make a chocolate nest in the future.
Next...
The boys and I hunted for the best bird to put in the nest.
We browsed a craft store and caught one.
If we had the time, I would have asked my brother-in-law to catch a bird, as he did back in Trinidad as a young boy, and have him train it to sit still in the nest. As I mentioned we were short on time.
Maybe next time!
I scored some edible, green grass that was in the post-Easter sale section!

I also bought some pastel Jordan Almonds and picked out three pale blue ones for the eggs.

I also made a seven and a zero with the melted chocolate on wax paper.
And here is all of it put together!


I had a lot of fun coming up with ideas, experimenting and learning. I enjoyed the challenge of creating something unique and special for someone who is very unique and special!

my mom
Other fun stuff about the party to come later….check back to see the adorable garland I made!


No comments:
Post a Comment
Go ahead and leave a word or two. I would love to hear from ya!